This will be the last of the cutting board chronicles.
Up to this point I got the center of the cutting board constructed. Once the center of the cutting board was assembled, I added a few alternating colored wood strips along the long edges of the board. Making the edge strips entailed the same process of milling, cutting and gluing as used to make the center of the cutting board.
Not every board is exactly the same size, and during the gluing process the boards can slip a little. The end result is that the cutting board faces are not perfectly smooth. So, once everything was glued, and the glue had sufficient time to dry, the cutting board faces had to be planed smooth. I had to use the same process as planing the rough lumber. One face was laid down on the planing sled and shimmed up, allowing the other face to be planed smooth. Once one face is planed smooth, the piece is flipped and the second face planed.
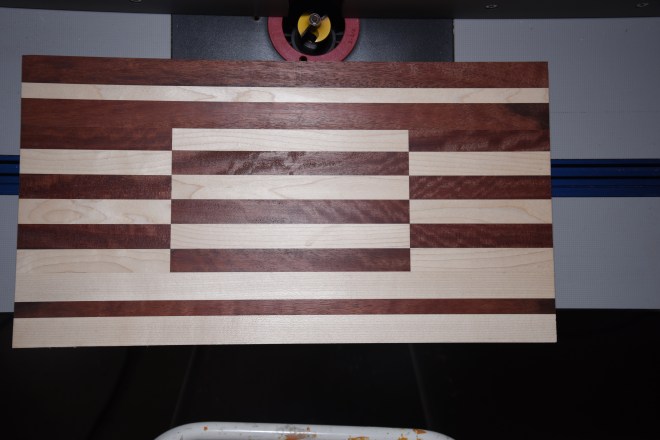 All glued and planed.
At this stage, the cutting board has hard edges and corners. Perfectly usable but not aesthetically pleasing. Casting off my engineering background I wanted to add some aesthetic touches by rounding down the edges to soften them. This is the job of a router with a round-over bit. For those unfamiliar with a router, it is a tool that rapidly spins a sharp, shaped bit. By contacting the wood, the bit pattern is transferred to the wood. My router is mounted on a table giving a stable work platform. The router spins at several thousand rounds per minute, making it a potentially dangerous tool. You do not want to get your fingers in contact with a spinning router bit. Blood on the bit can cause some major corrosion and someone has to clean the blood off the wall. Plus, the loss of a couple fingers can really mess up an otherwise perfectly nice day. Makes it hard to flip off tRump.
 Round over router bit.
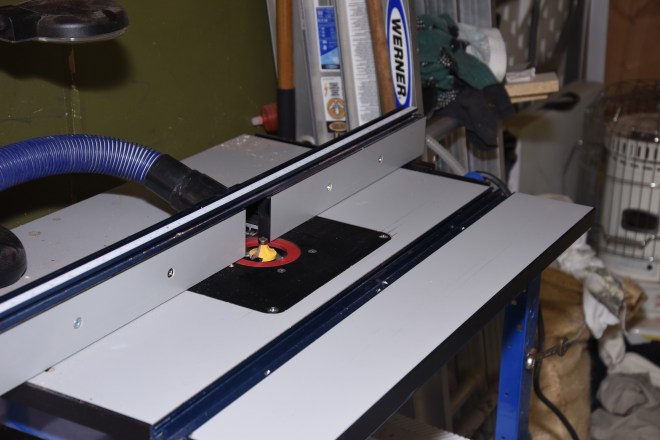
My router table. The router is mounted under the table and the bit sticks up through the surface.
The round-over bit I’m using has a bearing at the top to guide the workpiece and ensure an even cut. One can freehand route like this, but I try to use a fence whenever possible. Especially for routing across the grain of the board. Going across the grain can create what is called chip-out on the corners. To prevent chip-out, I use a piece of scrap wood between the side of the cutting board and the fence.
A router is an unforgiving tool and it is easy to butcher an almost finished project if you aren’t careful. A smart operator does each router cut in small increments, producing shallow, controllable cuts. The result is a pleasing, rounded edge. A similar process can be used to put in juice grooves on the top face and cutouts on the bottom to help when handling the board. Lindsay wanted a rounded edge on both faces which allows both faces to be used for cutting.
 Routing using a table saw crosscut fence with a backing board.
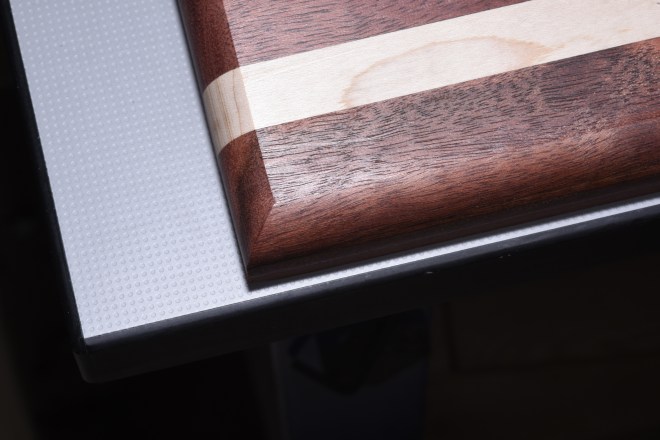 Aesthetically pleasing, nicely rounded edges.
After routing it’s on to the finish sanding. The board is completely sanded with a succession of sandpaper grits going from the coarsest to the finest. With good sanding you can get an almost glass-like surface on the cutting board. Unfortunately, at this point that glass-like finish doesn’t remain when a finish is applied. Sanding cuts off the ends of wood fibers. A liquid finish will make the cut off wood fiber ends swell, turning your glass-like surface rough again. So before applying a finish the board wetted with water. The water swells the wood fiber ends and they can be sanded off, using a light touch with a very fine grit sandpaper. This process is repeated a couple times to make sure the board is a smooth as it can be.
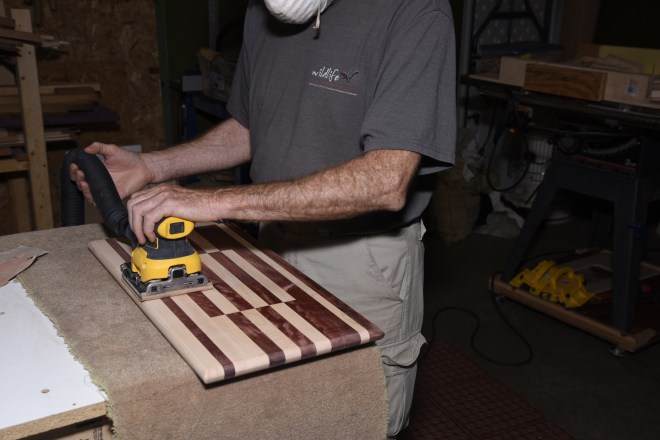 Initial finish sanding with a sander
 Wetting down the board.
 Finer sanding with a block.
Now it’s on to the final stage, applying the finish. I use mineral oil to finish cutting boards. The goal is to saturate the wood with the mineral oil, so it takes a number of coats. After the first coat or two of oil, I do another very light sanding with a very fine grit sandpaper. The oil darkens the wood, but really makes the grain pattern pop out.
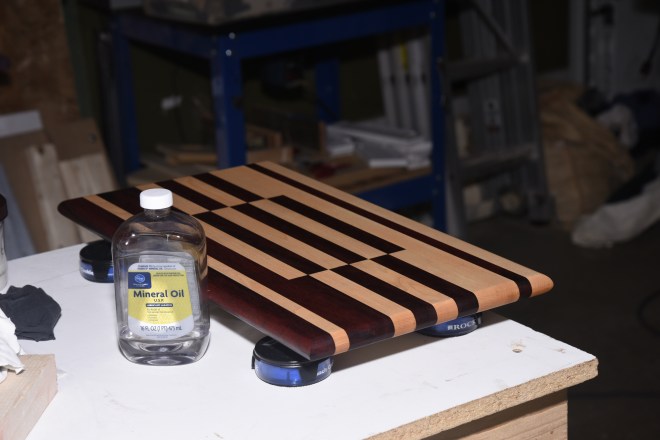 After a couple coats of mineral oil.
The final coat is a layer of mineral oil mixed with bee’s wax. It’s a homemade mixture made by melting 10 rounded teaspoons of bee’s wax in six ounces of mineral oil. I didn’t come up with the mixture, I got it from a YouTube video. The mixture cools to a paste that is rubbed onto the cutting board and can be buffed to a satin shine.
 Applying the final coat.
So the process takes us from rough-sawn lumber like this:
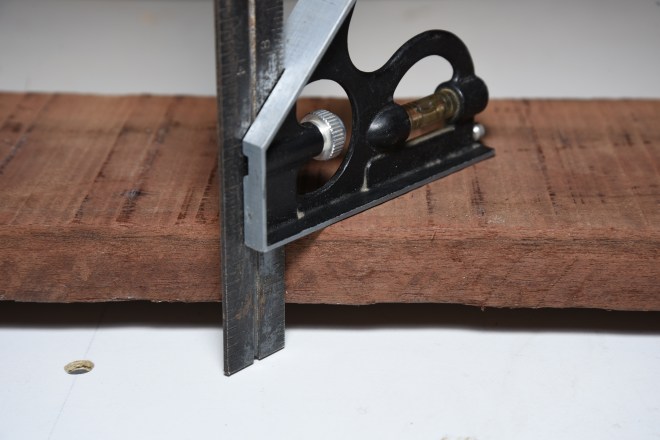 Rough-sawn lumber
To this:
 Lindsay’s cutting board.
This cutting board is about 12” X 22” and made from bloodwood and hard maple. I’ll also be making Lindsay a couple smaller boards to go along with this one as a set. This process and the techniques I used are basically the same for any project. Naturally there are variables like; complexity of the project, how much rough-cut lumber processing needs to be done, complex angle cutting, types of finishes, etc. Making a basic cutting board is a straightforward process. Except for glue drying time, one could knock out something similar in a couple hours, with the proper tools and a well set up shop. For a weekend warrior like me, still learning and working around tool and space issues, it takes a bit longer. But I would say it’s time well spent.
