I’ve been pretty busy lately, not a small part of which is doing some wood working. This is something I enjoy as much as photography. I get a deep pleasure taking rough lumber and making something nice and usable from it. I thought I would run through the process of going from rough lumber to a finished product. In this case a cutting board set I am doing for Lindsay. The pictures in this process are using bloodwood, from Central and South America. Videos would be a much better presentation but I’m not very adept at making them. Just getting pictures took long enough.
The process starts with milling rough cut lumber into something flat with a square edge for a cutting reference. I use rough cut lumber because it is a lot less expensive than finished boards. Rough cut means just that. It isn’t planed smooth and doesn’t have a finished edge. It usually has some warp and twist to it also. It isn’t the safest thing to cut because it can twist in the saw and move unpredictably.
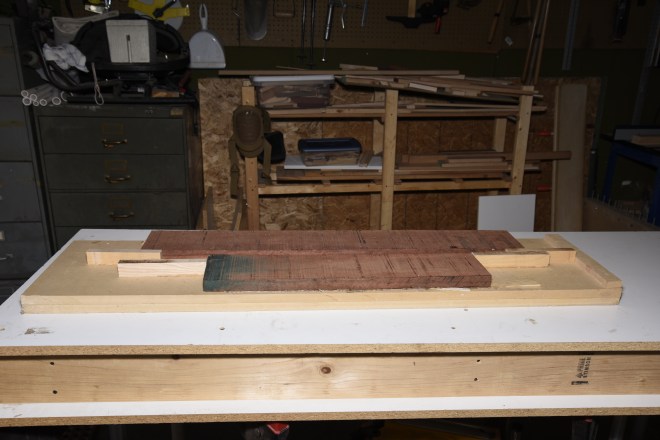
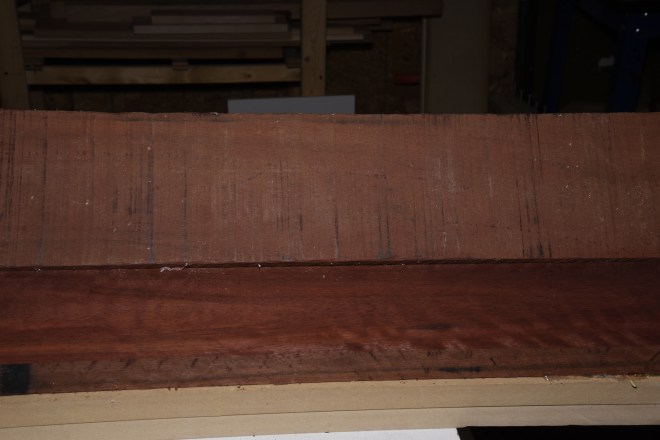
 Full length board showing warp.
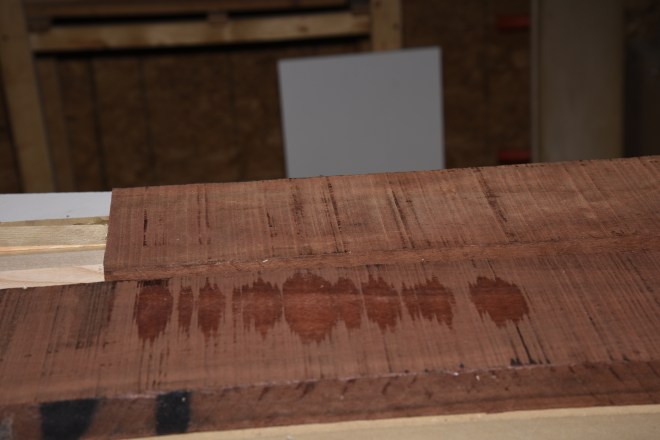
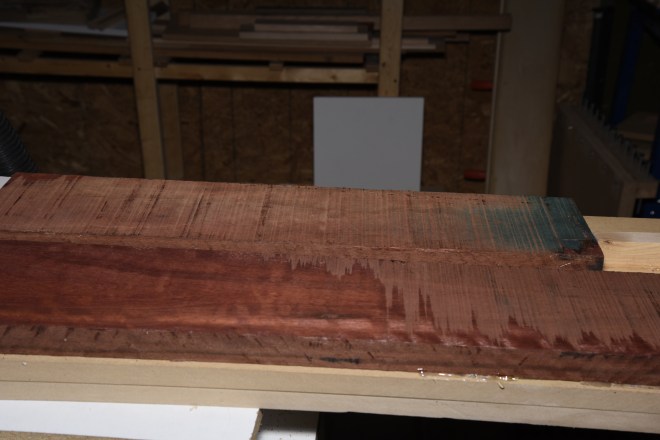
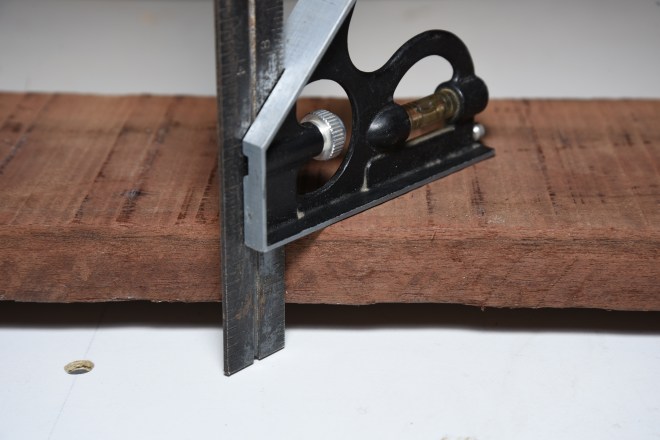 Close up showing the amount of warp with the rough sides and edges.
The first task is to cut boards that may range from six to ten feet long into something manageable. Cross-cutting on the table saw would work, but I think using the miter saw (or chop saw) is easier and safer. The miter saw bed is short, so the boards need to be supported. The end result is a stack of boards that now need to be planed to provide flat surfaces.
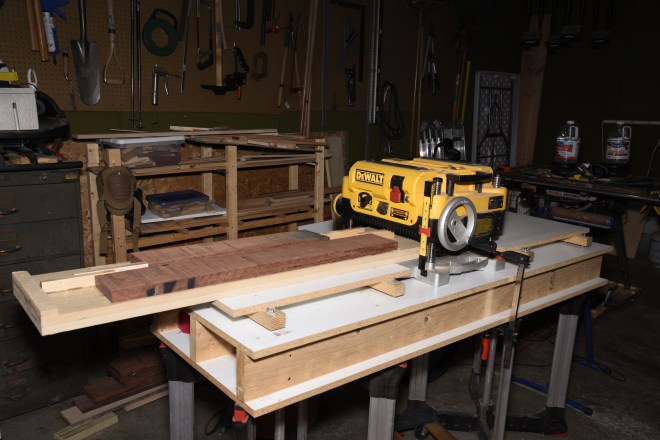
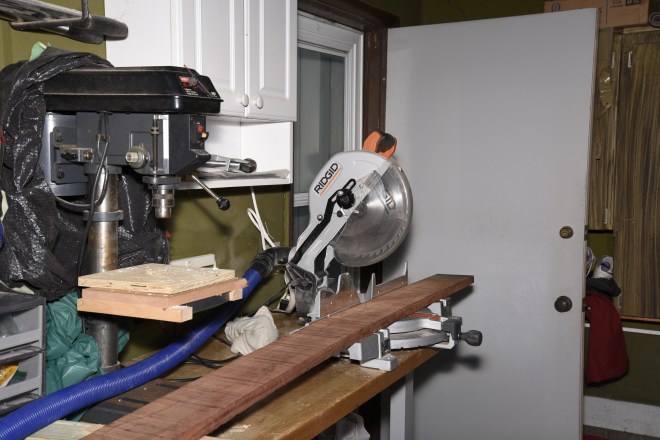 Full length board on the saw. The long blue hose connects to a shop vac.
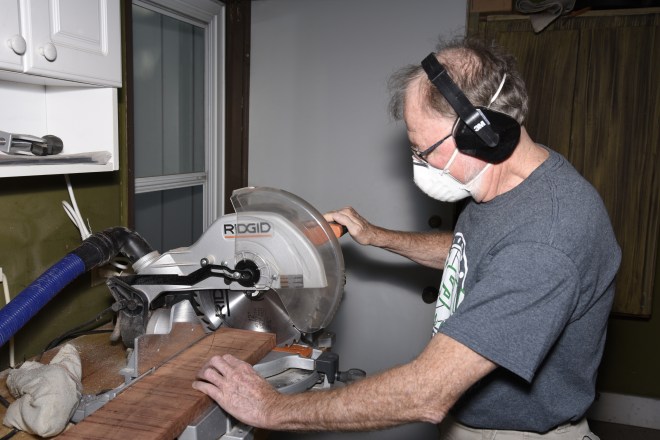 Cutting the boards. Notice the appropriate safety gear.
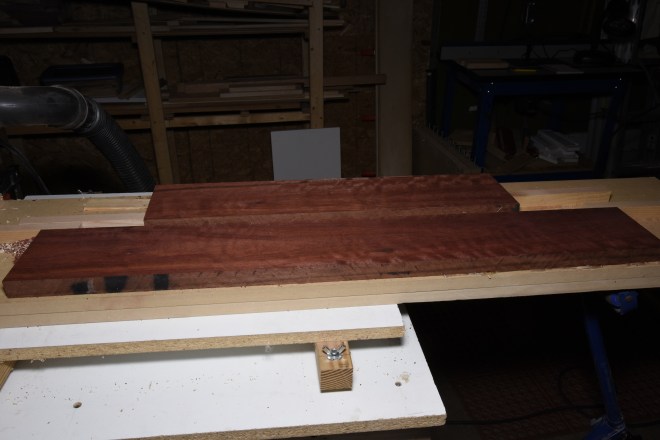
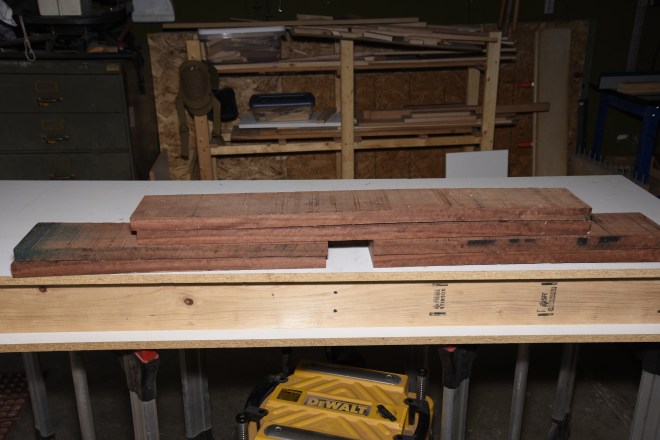 The end result, a pile of rough finished boards ready for the next step.
I have to do planing with a surface, or parallel, planer. A larger shop would use a jointer for this purpose. Since I don’t have the room, or money, for a jointer, I use the planer. One can’t just run the rough boards through the planer. A parallel planer does just that, it makes the two sides of the board parallel to each other. The bottom side serves as a reference and the planer smooths the top side of the board. Without having a flat smooth reference side, any deformity like a twist or warp in the wood is transferred to the top side. You end up with a board that has smooth, twisted sides. Not very usable.
The way around this is to use a planer sled. A planer sled is simply a flat piece of material, in my case a man-made product called MDF. You place your board on the sled, and glue wedges in the gaps between the board and the sled. The wedges steady the board as you plane it, so you will get a smooth surface without any twists or warps. Sacrifice boards at the beginning and end of the boards prevent what is called planer snipe. This is where the planer cutters first gouge into the wood. The snipe ends up in the sacrifice boards, not your production boards.


Wedges glued between the board and the sled.
 Sled with two wedged up boards. My sled is 1.5 inch MDF. It gets pretty heavy when loaded with a dense wood like bloodwood.
Once set up, the sled is run through the planer. Each pass through the planer will trim off the highest areas of the board. I typically trim something like 1/32” to 1.64” on each pass. Deeper cuts are possible, but I run right at the limit of what my circuit breakers can handle. Deeper cuts can cause the planer to draw too much current and trip a breaker. This causes a gouge in the wood where the cutters stop and a lot of swearing on my part. I don’t have a shot at heaven as long as I’m woodworking. Eventually, after a lot of passes, I have boards with one smooth flat surface.
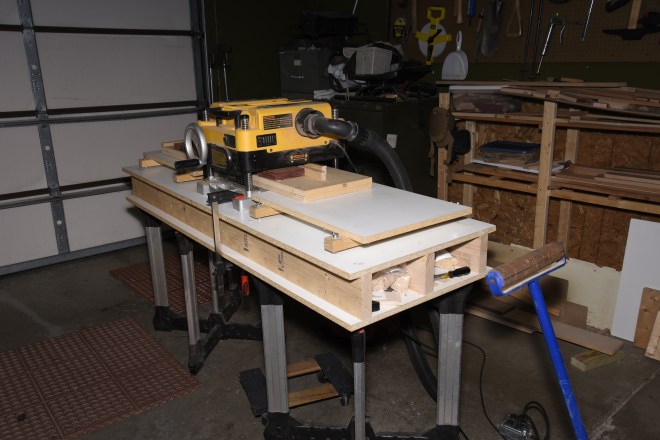
 Sled on the planer.
 Sled coming through the planer.
 Smoothing on successive passes.
 Finished smooth boards.
 Smooth board and rough board for comparison.
The smooth flat side of the board now provides a good reference for planing the other side of the boards, without using the sled. Sacrifice boards are still required to eliminate snipe. When planing multiple boards there is a certain amount of juggling to keep a steady flow going through the planer. On this run I had three shorter boards (two feet long) and two longer boards (three feet long). Lise helped to keep the outfeed boards from falling to the floor.
 Planning the second side of the boards.
Once the boards have been planed and flattened on both sides, I still need to get a straight edge perpendicular to the planed sides. This will give a reference edge for cutting the boards down to the needed size. To get a straight edge I use a jig I made. It has a straight reference side, and clamps to hold a board in place. When a board is clamped in the jig, the reference side of the jig is braced against the table saw fence, and a strip cut off the board. This process produces boards that are flat on two sides, and have clean edge, square to the board surfaces.
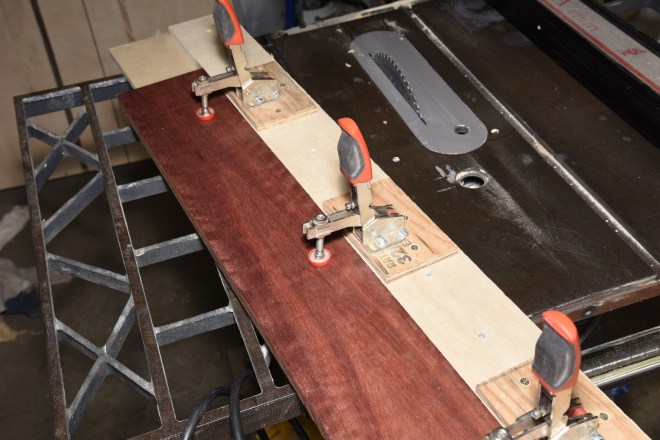 Board clamped into jig.
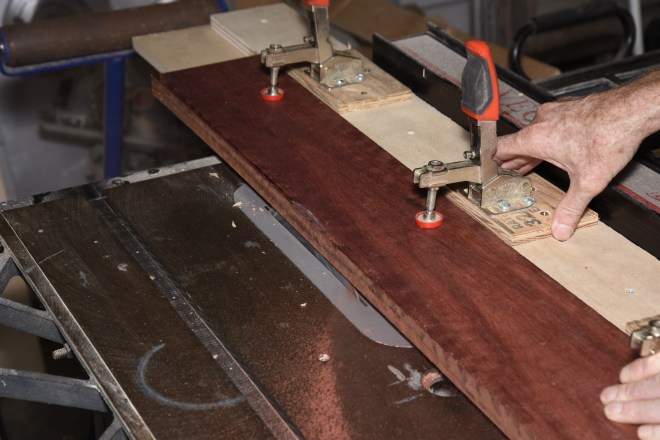 Running the board and jig through the table saw to produce a clean edge, square to the surface. That spinning blade is not something to be trifled with. A mistake here can make counting to five on one hand difficult if not impossible.
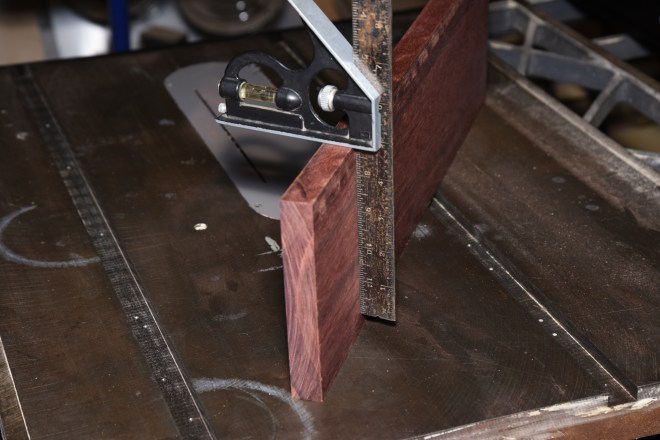 Finished board. Two flat parallel sides and a smooth edge square to the sides for a cutting reference.
 Comparison of finished board and an unprocessed board.
I now have the bloodwood milled. I have to repeat the process for all the wood I’m using. In this case hard maple, plus maybe some cherry, black walnut, and purple heart. After milling we get into the cutting, gluing, smoothing, routing, sanding, and finishing. Fun stuff and the subject of the next post or two.
